

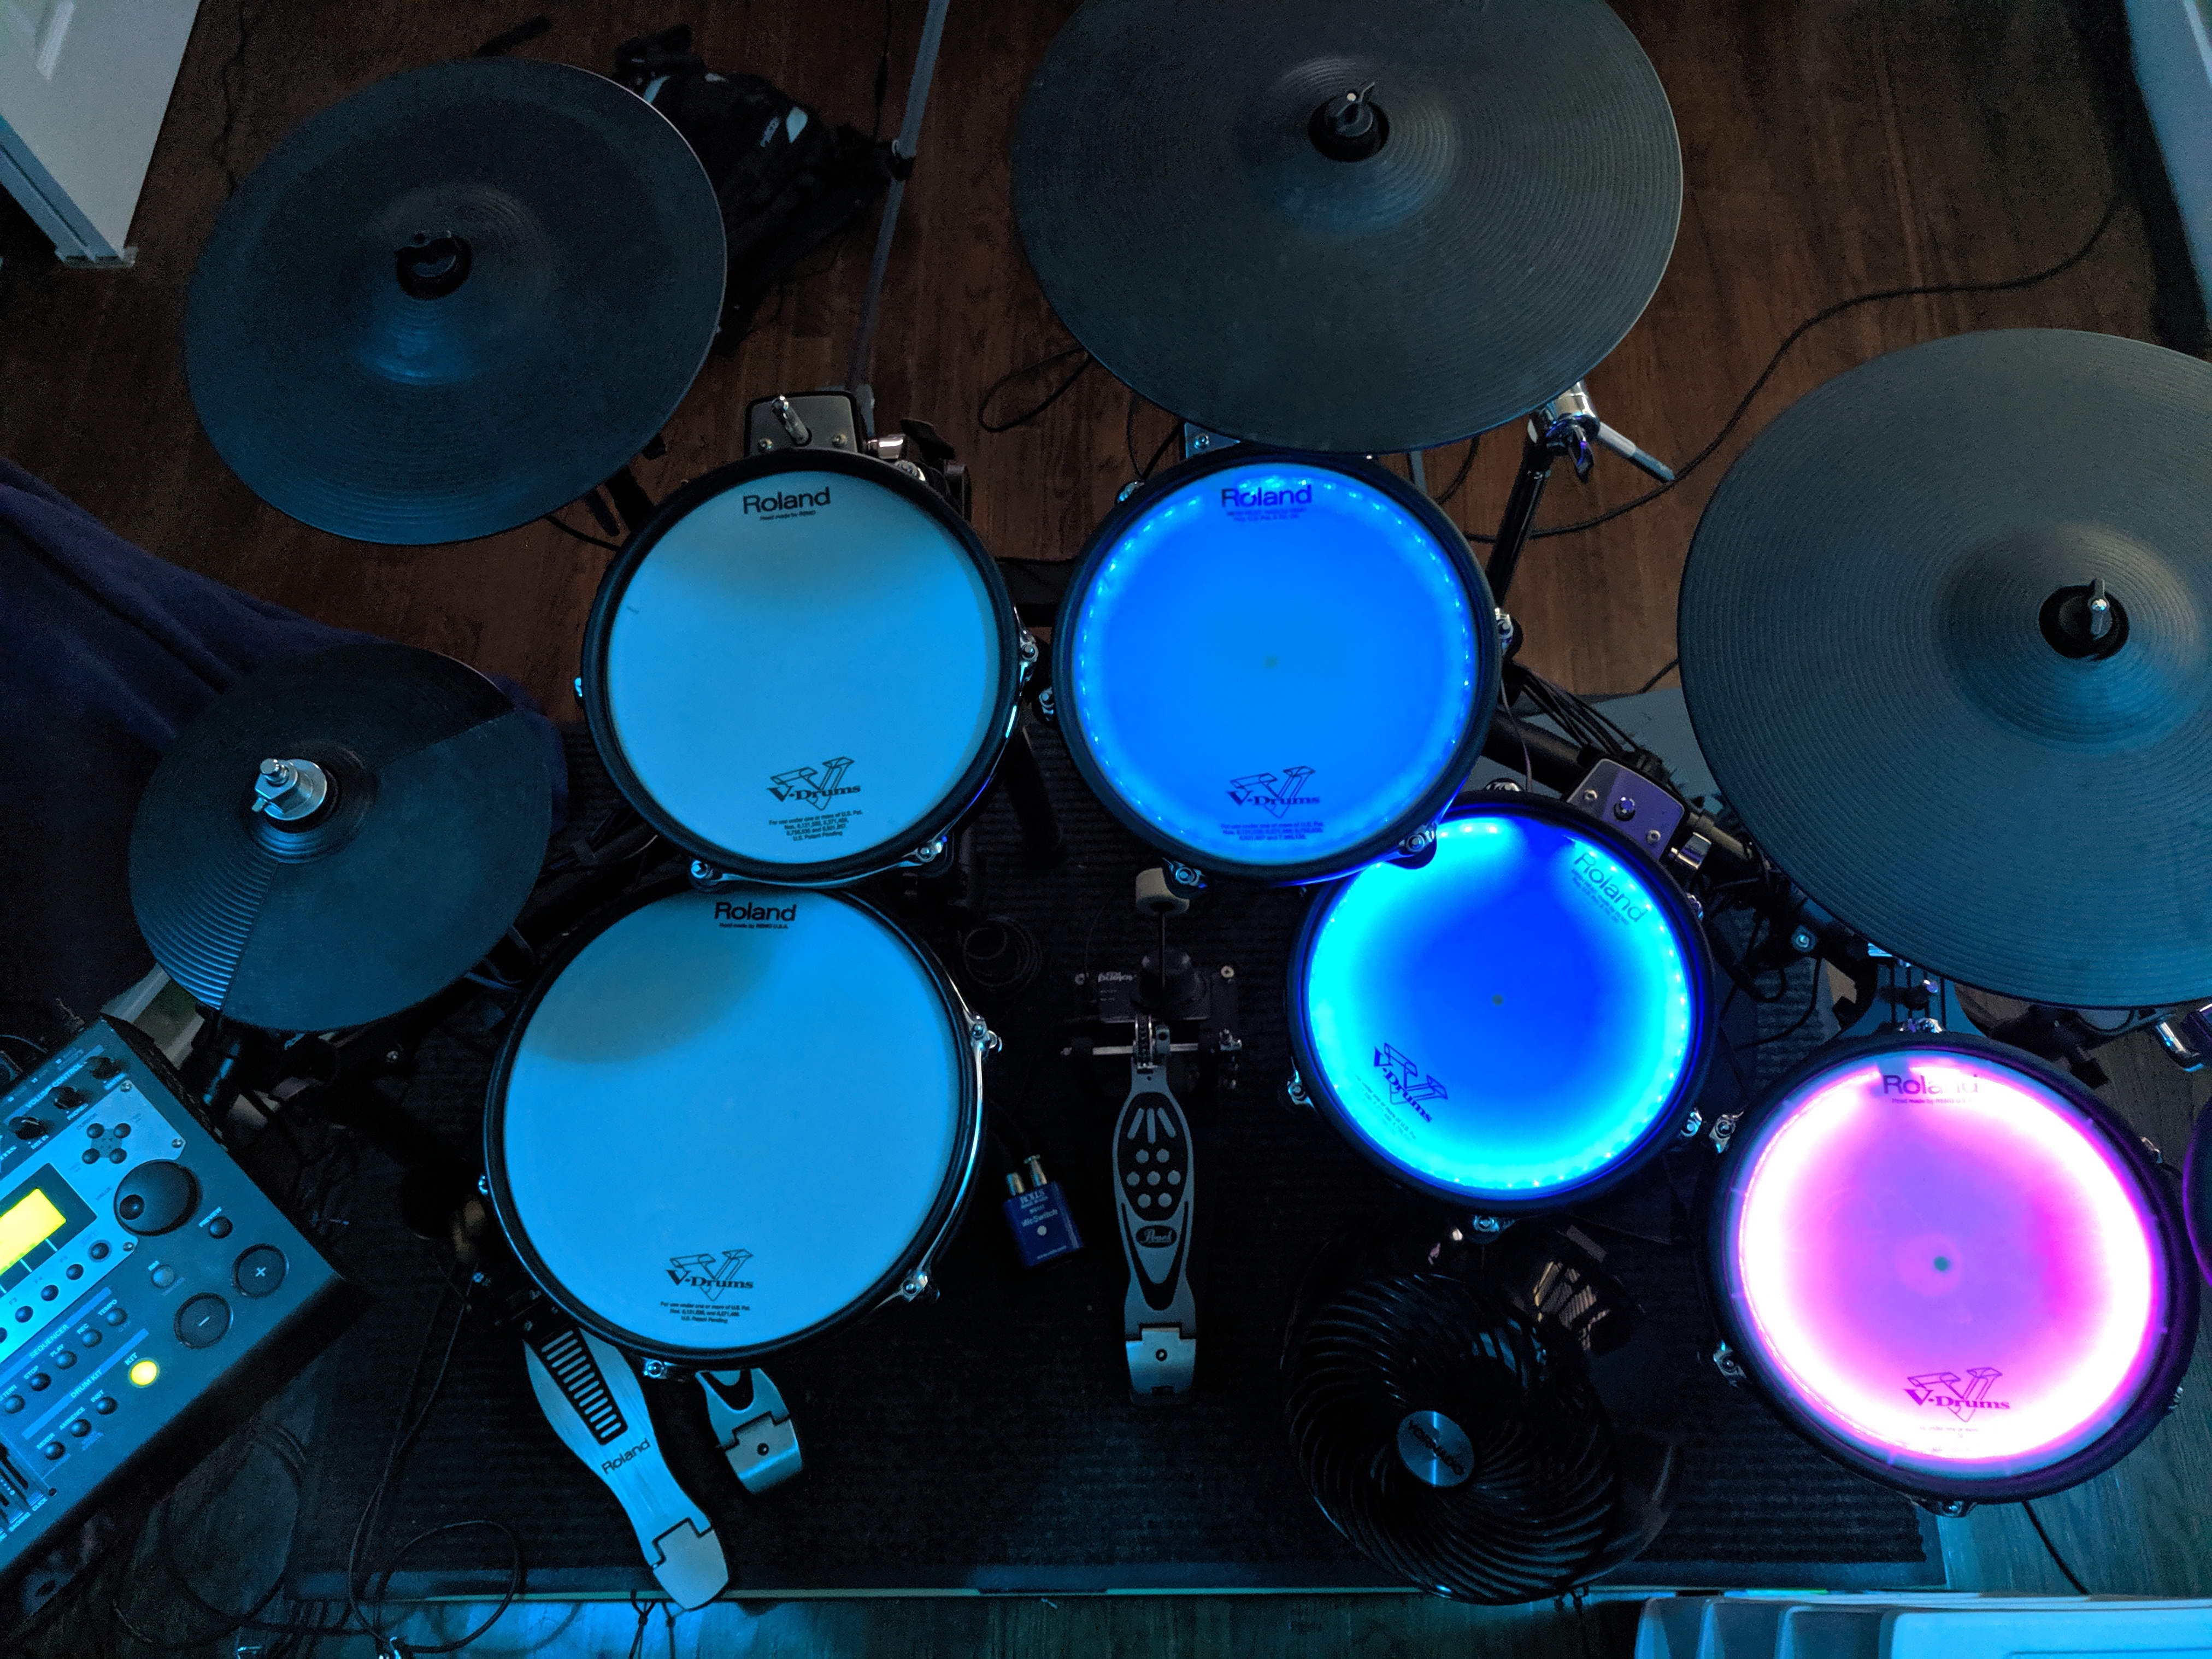
This setup will light up an LED strip to the correlating drum as you hit them, and will also allow you to add your own variations what the lights do when you’re not hitting them.
Here’s the signal flow:

Here’s a pic of what my kit looks like:

and a video of it in action:
Equipment you’ll need
Here’s a list of the equipment you’ll need, but before we get started, we’re assuming you already have:
- An Electric Drum Kit
- A DAW/Digital Audio Workstation (Reaper, Logic, Protools, Garageband, Ableton etc.)
- Basic knowledge of navigating a DAW and using MIDI
Depending on what you’re going for, this list could vary. Here’s the list of equipment I used (I was avoiding any soldering):
- 4 Wire LED Extension Cables – Fntek 50ft 4 PIN RGB Extension Cable Line, RGB Wire Cord for 5050 3528 RGB LED Strip Lights 4 Color
- DMX Decoder – 27 CHANNEL 9 GROUP DMX512 XLR Dimmer LED Driver Controller/Decoder For LED Strip
- 4 Wire connectors – RGBZONE 10 Pack RGB 4Pin LED Strip Connector for 10mm Waterproof RGB 5050 LED Strip,Quick Strip to Wire Connector Without Stripping Wire
- Strip of LED Lights – SUPERNIGHT (TM) 16.4FT 5M SMD 5050 Waterproof 300LEDs RGB Color Changing Flexible LED Strip Light
- MIDI to USB cable – FORE USB IN-OUT MIDI Interface Converter/Adapter with 5-PIN DIN MIDI Cable for PC/Laptop/Mac Color Red
- Electrical Tape – Duck 299006 Utility Vinyl Electrical Tape, 3/4 Inch x 60 Feet (Single Roll), Black
- DMX Cable – CHAUVET DJ LED Lighting, Black, 5-Feet (DMX3P5FT)
- Power Supply – SUPERNIGHT(TM) 100V – 240V to DC 12V 5A Switching Power Supply Adapter for LED Strip Light
- One Female Pigtail Connector – HDVD 10 Pack DC Power Female Pigtail Connectors 2.1 x 5.5mm Solid Copper 10 inch Length
- Wire Stripper – IRWIN VISE-GRIP Wire Stripping Tool / Wire Cutter, 8-Inch (2078309)
- DMX to USB device – Enttec DMX USB DMXIS 70570 MAC / PC OS Lighting Controller Interface & Software
More equipment you may need
Other tools you may need:
- Any Drill – DEWALT DCD777C2 20V Max Lithium-Ion Brushless Compact Drill Driver – If your drums don’t have a way to route wires in, you’ll need to create a hole. I used a 3/8 inch drill bit.
- Any small flathead screwdriver – Steelex D2032 Magnetic Tip Screwdriver Bit Set, 30-Piece – To screw in your 4 wire into the decoder
- Any Scissors – Scotch Precision Scissor, 6-Inches (1446), 1-pack – To cut your LED strips and 4 wire

Assembling the signal chain mostly involves plugging everything into the correct inputs on the DMX Decoder which is this guy:

Add Power to the DMX Decoder
First, we’ll add power to the DMX Decoder.
MAKE SURE YOU ARE NOT PLUGGED INTO THE WALL DURING ANY OF THE CONSTRUCTION.
If you need to test something. Plug in the Decoder, test what you need, then unplug it when you are done. It’s not smart to connect, disconnect, or move wires around while it’s plugged in.
- Using a small flathead screwdriver, begin unscrewing one “-” and one “+” power input until the hole where you will insert the wires becomes wide enough to fit them in comfortably
- Insert the Red cable into the Postive (+) slot
- With one hand, hold the Red Cable in place, and with the other, begin to tighten the screw at the top so the slot becomes closed and locked into place.
- Do the same with the Black Cable into the Negative (-) hole
- Plug in your 12v power supply into the female receptacle of the red and black pigtailed
- Plug the Power Supply into a wall outlet
Does the Red light come on? If so, we have power! If not, check your connections and try again.
Connect our first LED Strip
Unplug the power from the Decoder before starting

- Grab an RGB Extension cable and separate the 4 wires apart so you can use your wire stripper to strip them individually (about 1 cm from the end of each wire)
- Once they’re stripped, begin inserting the wires into the correlating slots on the DMX Decoder. (Red is R, Blue is B, Green is G, Black is V)
- Determine how long your drum will be from the Decoder, and add some extra wiggle room, then use scissors to cut the RGB Extension cable
Let’s connect the LED Strip to the RGB wire connector

- Grab a 4 Pin LED Strip connector, open up the end that’s for the LED Strip, insert your LED strip in, and close the connector to lock it in place.
Connect the RGB Extension cable to the other end of the RGB wire connector

- Grab the newly cut end of your RGB Extension cable, and just like before, separate the 4 wires apart so you can use your wire stripper to strip each wire individually (again about 1 cm from the end of each wire).
- Look on the LED Strip and it’ll have labels for “V, G, R, B”
- Line up your stripped wires from extension cable with the respective labels on the LED Strip into the LED Strip connector.
- Insert the wires in, and close the connector to lock it in place

Test the connection to see if it works!
- Plug in power to your Decoder again
- Does the LED strip light up on its own?
- If it did, yay!
- If it didn’t, check your connections and try again.
Light up the LED strip when you hit a drum
- Connect the DMX Decoder’s IN to Entec DMXIS OUT using a DMX Cable
- Connect the Entec DMXIS device via USB to your computer
- Register and install the software
- Add a new track to your DAW and select the Entec DMXIS as a VST
- Connect the Entec DMXIS to the DMX Decoder with a DMX Cable
- Open up the Entec DMXIS VST and right click the first channel/fader (which would be Red) and select “Learn”
- Hit a drum that you’d like to initiate the LED strip
- That’s it! When you hit that same drum, it should light that LED strip up Red.
Oscillators
- Open up the Entec DMXIS VST and select Channel 2 (the 2nd fader which would be Green)
- Check out the bottom portion of the window under Oscillators
- Turn the Oscilattor from “Off” to Sine and the LED strip should be pulsing in Green, while you could still hit the pad and have it turn red.
- I won’t get too far into the details here, but you can toy with these values and combine them to get a desired result
I’ll update a bit more with some screenshots, but I want to get this out because a few friendos have asked for links to the gear list and instructions on how to do this.
Feel free to reach out to me on twitter @andyTHPS if you have any questions.